
Bandages and wrappings can be found on all kinds of models and I have a simple but effective way of painting them. In this tutorial I’ll be demonstrating on a mummy, but the technique is universal and works in different colours too.
I started by painting the whole model with a light base coat, in this case Dheneb Stone. I then washed it with Devlan Mud and left it to dry. This allowed me to see all the detail more clearly and it added the shade to the recesses. At this point you’re 50% done.

I also picked out the breaks in the bandages at this point. This is worth doing early on and in the base colour, for example I did the skin with Greatcoat Grey. Doing this will help your areas standout later on and add definition to the finished mini.
Next I picked out all the bandages in Desert Yellow. I wanted to be reasonably accurate at this stage because this is the base colour, but the previous base and wash mean you dont have to be pitch perfect.

Next I used bleached bone to highlight, here I’m aiming to do the top surfaces, we’re really just defining the bandages at this stage.

Now, to make everything look more natural you need to bring the highlights and the lowlights closer together. I mixed up a wash of the base colour, in this case Desert Yellow using Lahmian Medium as a thinner and applied it across the bandages.
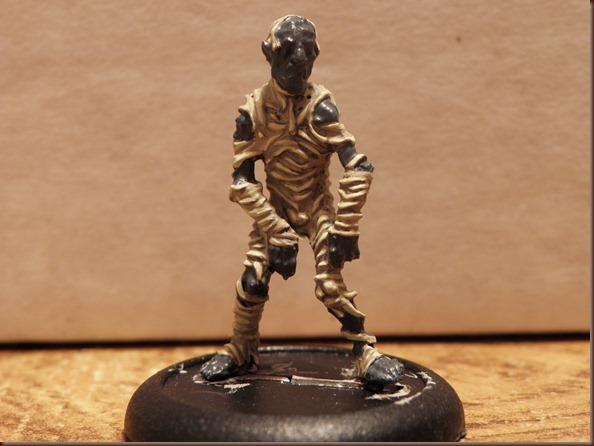
Finally I added patches of Devlan Mud and other patches of Gryphonne Sepia to give the bandages a grim stained, aged look, which also helps to break up the monotony of the single colour.

Simple, but hopefully effective.


Until next time, have fun gaming.
The Duke


No comments:
Post a Comment