 By Ivenbach.
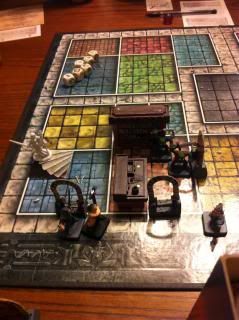
After an introduction to the two newcomers and letting everyone choose who was going to play what the first quest was started. It was the Barbarian that started off and sure enough he rolled barely enough movement to get out of the door. The Dwarf oddly dashed past him and opened the first door. On seeing it was 2 Orcs he kindly moved on to allow them to get pincered between him and the Barbarian. The Elf rolled right along with the Barbarian and the
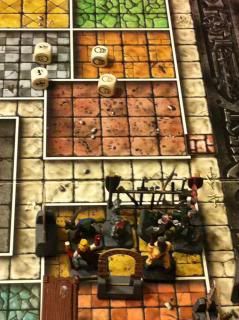 The Orcs came out and were quickly dispatched. The second room was invaded wherein the Fimir quickly fell to the Barbarian Dwarf and Elf. The Wizard was goaded into killing the 'measly' Goblin. He knew better but tried it anyways and was unsuccessful in dealing a killing blow. The goblin gleefully swung and connected with 2 skulls. It was only the second room yet the taunting from Zargon along the lines of 'Half your health with on mighty blow'. The wizard rolls his defense and the insult was returned with interest. Stupid Wizard and his lucky shields...
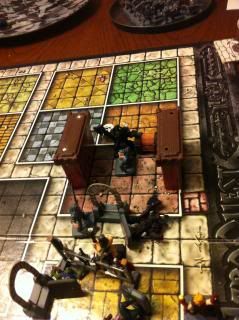 The goblin was dispatched and the Heroes venture out into the hallway. Left or right? The choose right and into the room with the Chaos Warriors. When they see 2 Warriors they back off and maliciously jump him at the doorway as he goes to attack. He quickly falls and the Dwarf goes in to kill the remaining Warrior.
 All while this is occurring the Wizard is ever so slowly making his way to the group searching for secret passages.
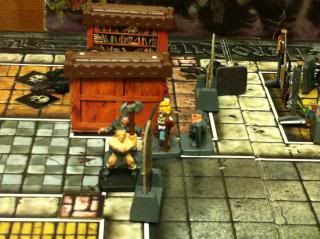 The Hero train forms back up and after a quick battle the room is neutralized of it denizens.
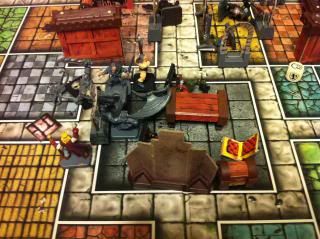 The heroes open the door to the middle room and find it populated with the fearsome Gargoyle and henchmen. The heroes fought valiantly winning the battle. When it was all over Zargon foolishly realized to add in his Chaos Warrior he was allotted. He vowed to make sure he wasn't forgotten and relocated his use to Fellmargs tomb.
The quests main room had been taken and the Heroes had been getting every gem and potion the deck could throw at them so far without a single hazard or Wandering Monster. ((It was at this point we had to break for the night and continued it the following week)). The heroes pressed on and followed the hallways that led to the room above the entrance stairway room. Clearing that they crossed the hallway and wrought havoc on the ensuing rooms.
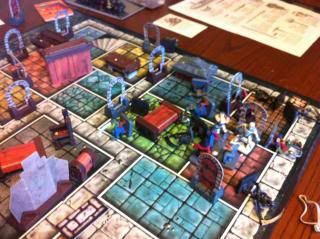 It wasn't until the guardian of Fellmarg's tomb was encountered did any real problems occur. When they did encounter the mighty guardian the Dwarf quickly learned a valuable lesson when a mighty blow was landed.
Sadly at this point the Dwarfs meady body points were reduced below 0 and he fell.
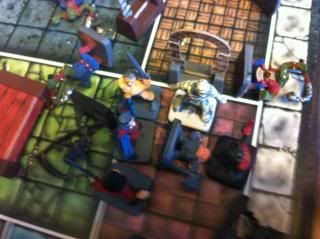
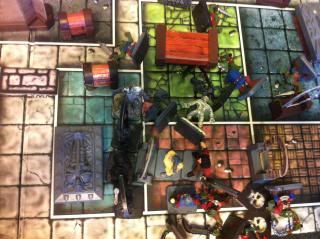 The Chaos Warrior soaked up a few hits but eventually fell to the Barbarians lethal barrage of attacks. The elf swaggered up to take out one of the skeletons, which he did.
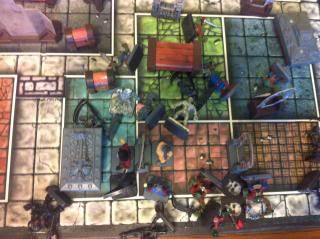 It was then Zargon's turn to inflict some pain on the
 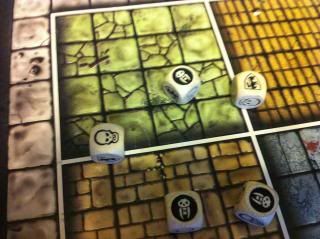 True to form the Barbarian continued to limply whack the Mummy with his noodle ((4 full rounds of only 1 skull. Meanwhile black shields aplenty)) before the inadvertent Wet Noodle side effect wore off and the Mummy was finally lain to rest.
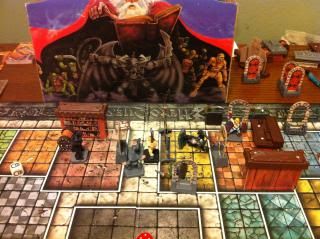
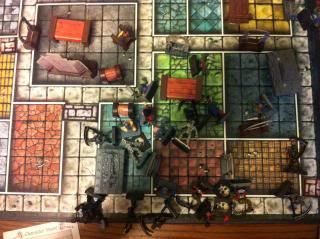
The final scene of carnage.
With their new found loot and their dead comrades gear in hand the Heroes triumphantly return to prepare for their next adventure.



No comments:
Post a Comment