Showing posts with label Hobby tips and conversions. Show all posts

Sunday, 22 May 2016

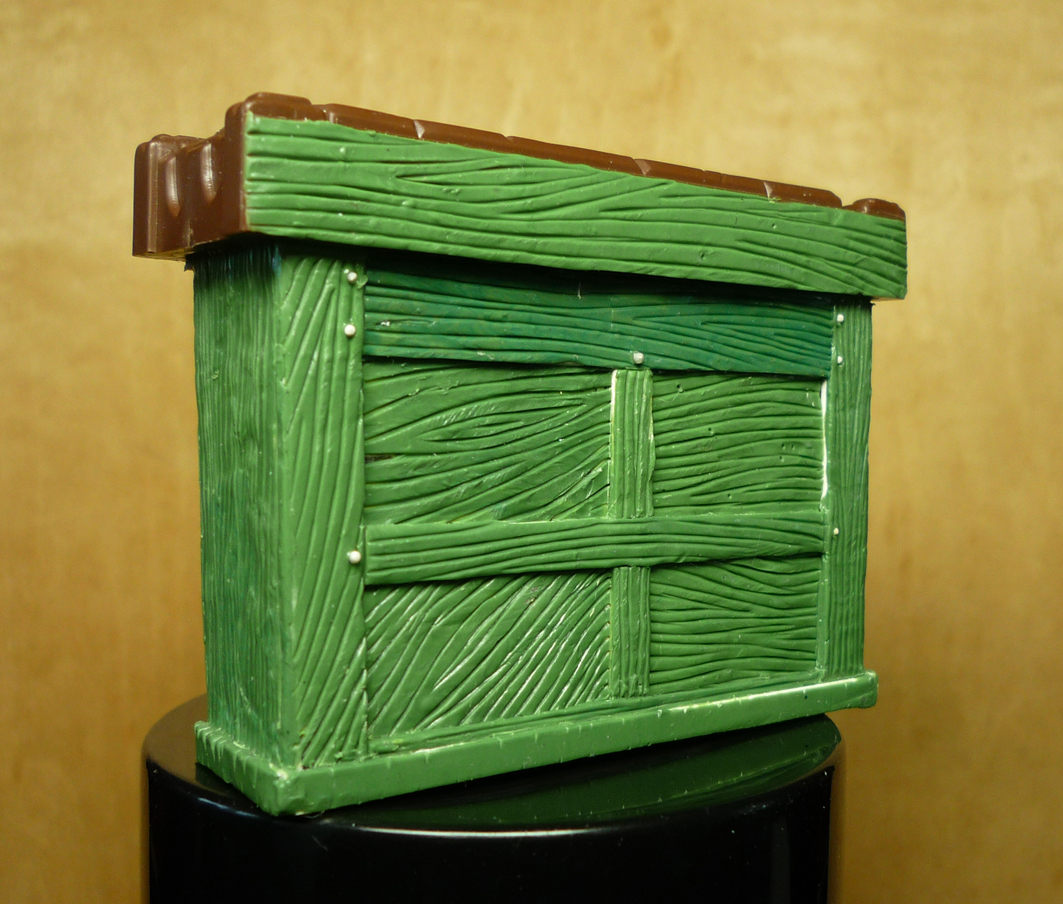
The making of the buffet by Baramyne


The making of the buffet followed the same process than the library.


Firstly, the basic shape is created with plastic card assembled together. Then, we cover up everything with Duro. finally, Baramyne sculpted the wooden texture all over it and added the metal parts.


The final product carefully painted.


See you next time for more !

Thanks to Baramyne for the beautiful images. See more on his blog.

Sunday, 15 May 2016

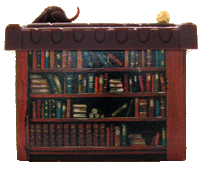
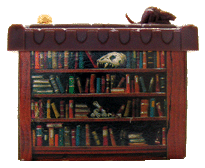
The making of the library by Baramyne

Continuig our adventure to remake HeroQuest's furnitures. This time, we'll see step-by-step how to remake the library.


We first start by make a basic shape made out of plastic card. Then we cover the surface with Duro (greenstuff) and give it a wooden texture by scupting deep veins into the greenstuff.


Once the library got fully covered, Baramyne began to scupt tiny books and all sorts of magical scrolls. A rank of encyclopedia here is in fact a piece of plastic card covered by greenstuff.


In order to make the scrolls, Baramyne made a flat piece of Duro and wrapped it. This technique is perfect to make all kinds of maps, parchment and magical scrolls. Some skulls, a crystal ball and a rat reminds of the orginal artwork painted on the library.


Then the paintings. For the books, he tried to use leather color which actually reminds of old books.


Here again, no special tricks. It is all a matter of patience to paint the tiny books. Don't hesitate to vary the form and size of the books in order to have a credible look.

Thanks for watching and see you next week for the next tutorial!

The making of dungeon doors by Baramyne

Because we love 3D furnitures, here is an interesting article about the making of dungeon doors for HeroQuest by Baramyne, a very talented french hobbist.

Step 1 : Inspiration!

Step 2 : carve some piece of green stuff and prepare for resin cast.
Step 3 : Full piece assembled.
Step 4 : Cast in resin and make some correction here and there with green stuff
Step 5 : Time to PAINT !!!

Original post here (french).

Sunday, 21 December 2014

It's christmas time... Ice Caves by Aubrey

Here's a post by Aubrey, over at Hirst Arts Fantasy Architecture:

Here are some pics of of the custom ice cavern setup that I recently completed. I cast the pieces using clear resin (smooth-cast 325) and lit it from underneath by setting the pieces on top of felt that was attached to a clear lexan board. I was able to make the lights blink, fade, dim and so on so that is why the lighting looks different in some of the pics. I was trying to represent a place in my setting called Glimmermist. There, the crystal and ice deposits actually glow and glimmer so I thought why not actually make the setup glow and glimmer too! I also hid a few secrets in the casts for the players to discover. I hope you all enjoy.

Thursday, 27 November 2014

Tabletop workshop modular castle kits now on sale


Tabletop Workshop now has their Modular Castle Terrain Kits available over in their webshop.
Have fun stormin’ the castle!

Source

From the announcement:


Our 28mm Hard Plastic Modular Castle kits are now complete and in stock. Here is a look at the final products!

In the pictures below, you’ll be able to see one of our unpainted designs made out of Tabletop Workshop kits. We created a huge Square Castle Keep, surrounded it with a Massive Octagonal Outer Wall and added a few of our 28mm Buildings to complete.
Read more

Sunday, 20 July 2014

3D Krosmaster Arena! The Elementary arena!

Another 3D tile by bumyong:

"I've taken some shots showing all the pieces removed from the board and assembling the other one:


Again, a side by side with the original (look at that glare on the water!):


Some close-ups:


In the water shot, you can see the dimple I mentioned before due to the bubble that formed late in the drying process.


I think the center tiles need some more elevation and I'm going to work on using the fieldstone walls to raise them more. I would also like to experiment with land elevations and am thinking of cutting up some 1/2" particle board bases at varying depths to give more topography. But all of that is going to have to wait as I'm going to be gone on travel for both work and vacation until mid-August. That's why I made a push to get the base boards done at least. Maybe I'll bring my clay along and try to start making masters of the tokens and what-not. Will post if I actually do it."

Source : http://hirstarts.yuku.com/topic/7098/Krosmaster-Arena-BoardWIP?page=2#.U24qpHV_s6g

Sunday, 13 July 2014

3D Krosmaster Arena! The pit arena!

This is a 3D arena made by bumyong:

"So here's the original board that I am trying to make:


The middle portion is a pit sunk in the ground so the challenge was to raise the board so that there can be an actual pit. So I worked on recreating the pit out of dungeon pieces:


If you look at the picture above, there is some poison gas and liquid coming into the pit through holes in the walls. I decided on having a gated archway as well as some holes.


Here it is painted and completed: (Finally got to use the 1.5" dungeon accessory mold! Those were the first molds I got, thinking I would use them for Descent but ended up going 1" instead so I never used them. Finally, the poison gives me a reason!)


The corner blocks are removable in case I want a pit that is 4x4.


Next, I had to make a raised platform so that the pit could be sunk below the board. I opted to build a nice wooden frame using decorative trim:


For the top, I just cut 1/8" tag board, one with a hole for the pit and another without the hole. Here is how I assemble it:


And after placing all the tiles, here is how it turned out!


Tomorrow, I'll place the tiles and post photos of the other board included in the game. But I'm happy with how this turned out. I read on Board Game Geek that the game shipped out yesterday for Kickstarters. Hopefully, that means I'll get the game in another month or so."

Source : http://hirstarts.yuku.com/topic/7098/Krosmaster-Arena-BoardWIP?page=2#.U24qpHV_s6g

Sunday, 6 July 2014

3D Crypt Dungeon by LadySabelle

I've been on way too long of a break and started painting a bunch of walls the other day only to remember that I'd decided to do gray rather than brown. (Actually my husband came in after I'd painted about 30 walls or so and said "Did you change your mind again about the color?")

So rather than repainting everything I finished painting what I'd started. So here's what I ended up with. I custom made some tiny fieldstone stairs and bricks for the bars/grate and made a mold so I could make more.


Related Posts Plugin for WordPress, Blogger...

Crawling in the other dungeons...